MYOB allows you to send customer invoices through email with just a click. You have the option to send the invoices direct from MYOB in PDF form, Excel format, or save the file to your local computer before sending to customers. This time-saving feature in MYOB enables you to efficiently manage your accounts. To print or email statements to your customers, go to the Sales main command centre. Click on Print/Email Statements as per screenshot below. 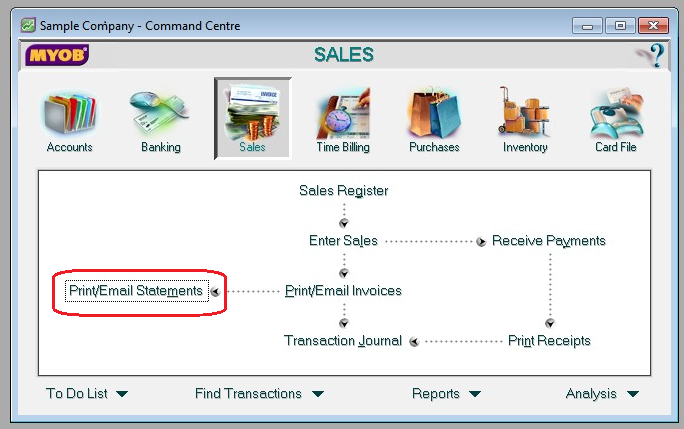
In the Print/Email Statements screen, you are given the option to choose as follows:
- If the statement is to be printed – choose the tab To Be Printed
- If the statement is to be emailed – choose the tab To Be Emailed
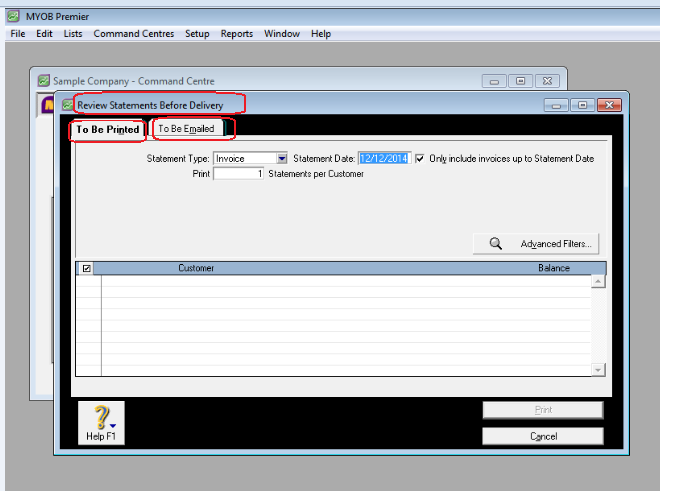
If you want your statements to be emailed, choose the To Be Emailed tab. In order for you to further refine your filters for statements to be emailed, click on Advanced Filters as per screenshot below:
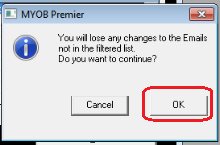
When you click on
Advanced Filters, MYOB will warn that you will lose any changes to the emails not in the filtered list and ask you to confirm to continue. Just click on OK as per screenshot below:
Once you have selected all the options, including the customer or customers statement you wish to print, date of the statement, format of the Statement to be emailed, click on
OK. The email address that is stored in your customer’s card file will automatically appear in the email statement prompt. Otherwise, you have the option to either manually indicate the email address in the screen prompt in which case MYOB will ask you if you are going to update the email address to the card file. You also have the option to indicate another email address in the aside ;from that stored in your customer’s MYOB card file. Once you have indicated in the
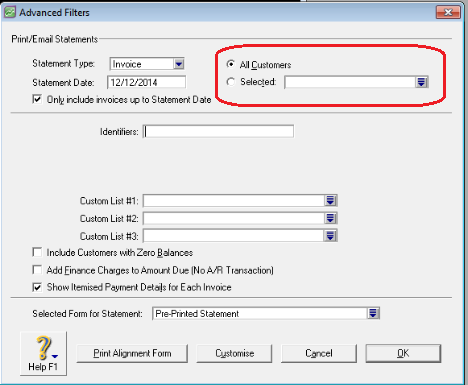
Advanced Filters screen the customers you wish to sent the Statement to, click on
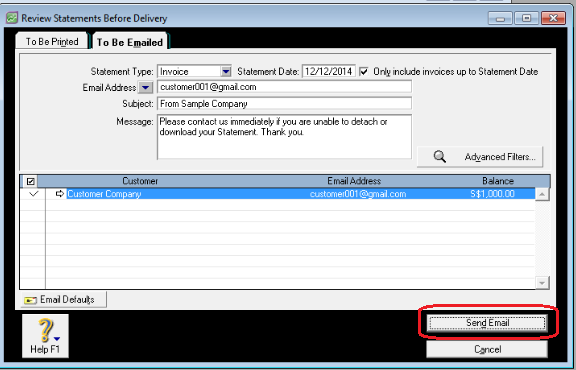
OK and you are directed back to the
To Be Emailed screen and you will see that the customer being selected on the
Advanced Filters automatically selected. Click on
Send Email to finally send the Statement to the customer as per screenshot below:
Take note that you have to ensure you are on the
To Be Emailed screen if you are to email the statement. Otherwise, you have to get back to the correct screen to be able to send the email statement.
In order to Print Statements, click on To Be Printed tab and ;you also have the option like the To Be Emailed but of course, this will not be emailed but printed. You also have to click on Advanced Filters to select the customer to be printed and other options including the selected form of statement as per screenshot below:
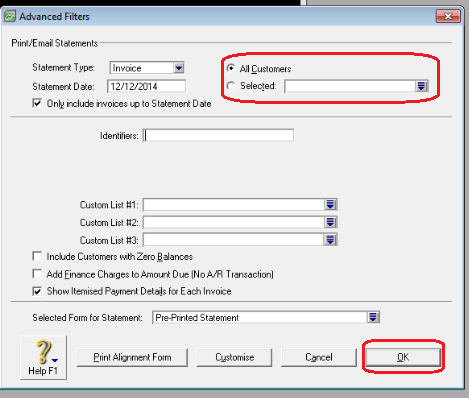
When you click on
OK you are directed back to the
To Be Printed screen. If you selected the customer or customers you wish to print the statement, the customer selected already selected when you are directed back to this screen. In the
To Be Printed screen, click on
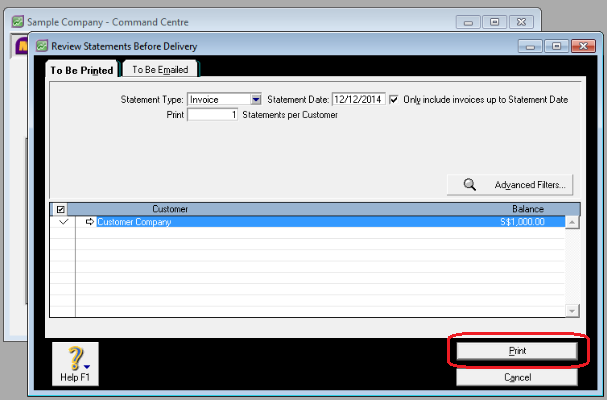
Print to finally print the Statement as per screenshot below:
